When our hair and makeup are looking the best, we feel that way too! Here I’ll help you to get the top results for your hair care routine.
Also, I will be breaking down how to create a curly blow-dry at home, because as much as we would like to visit the salon every week, most of us don’t have the time and it would be a pricey habit too.
Using The Correct Products For Your Hair Type
As most of you will now know I have converted to BeautyCounter products. They use high-performing formulas that give you confidence in each item while also not using harmful ingredients.
After changing to these products, I had to decide what shampoo/conditioner to use. I identified the two ranges which they offer:
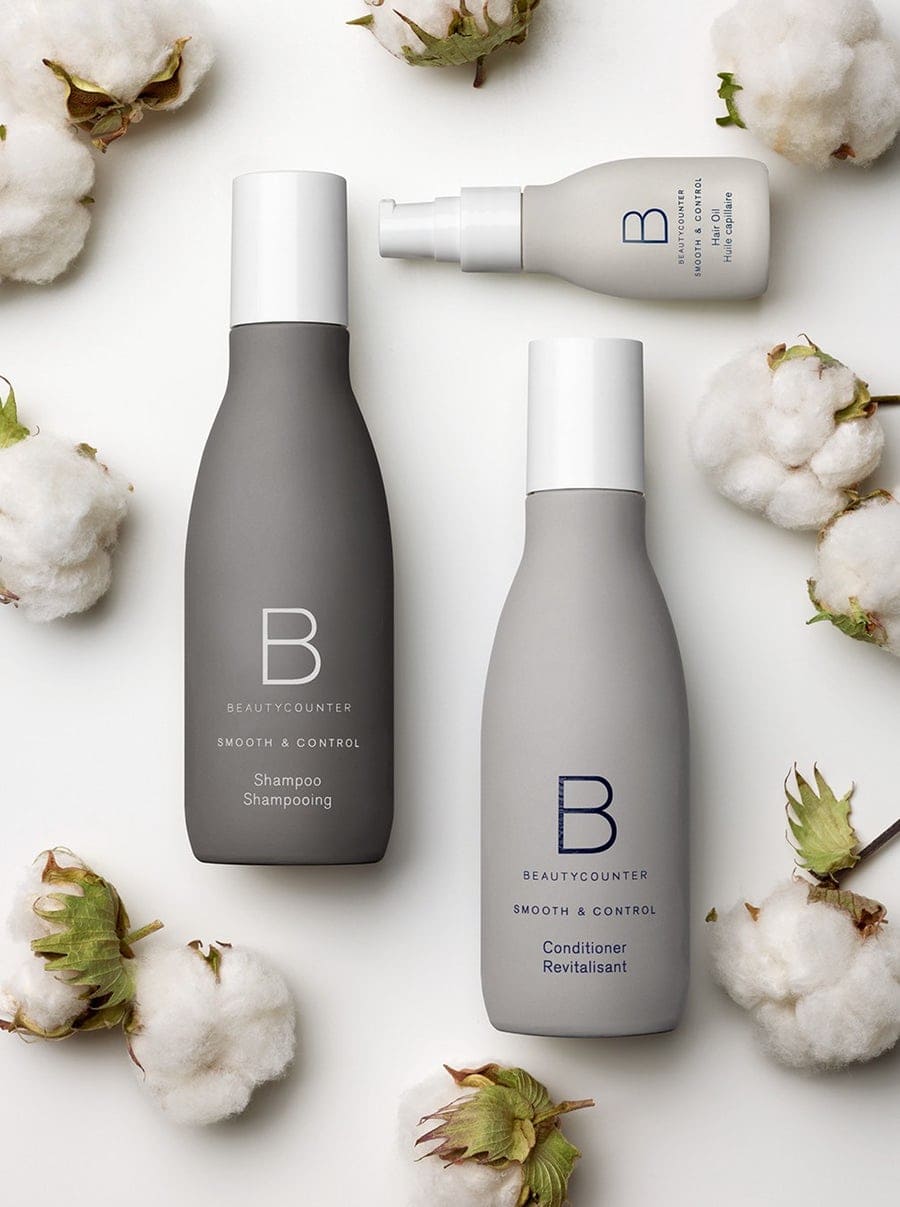
- The first was Smooth & Control, which is designed for those with curly and frizzy hair. The formula contains a cotton extract which leaves hair feeling silky and smooth.
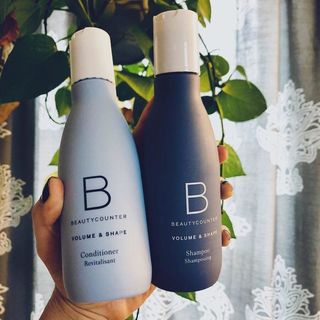
- The second is Volume & Shape. This is designed for those with flat and probably naturally straight hair to add some extra body to the hair.
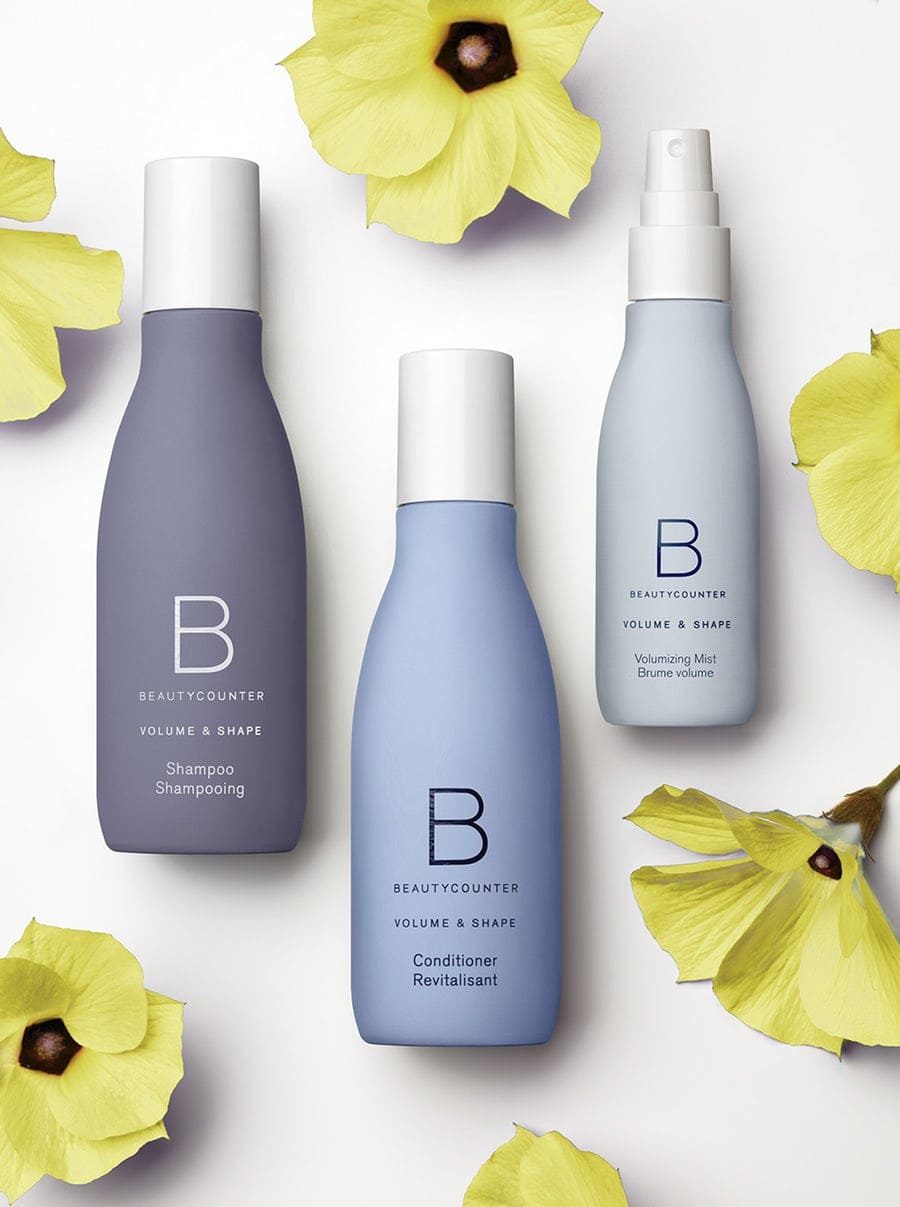
I personally use the Volume & Shape range because I have straight hair with a slight wave. I like the extra volume, especially when I’m going to be doing a blow-dry.
After I use the Volume and Shape shampoo and conditioner, I apply the volumizing mist from the same range to my damp hair. This creates an extra boost of volume before blow drying and it smells amazing. The formula is made up of apple, quinoa and hibiscus plant proteins.
The Smooth and Control range also includes a hair oil which can be used on all hair types to tame flyaways and prevent frizz. Hair oils also hydrate and protect the hair from heat damage.
2 Tips To Achieve Healthier Hair
Naturally, from a young age we are taught the 2 key steps to washing our hair, which are shampooing and conditioning. Here are my 2 essential tips you need to add into your hair washing routine – if you haven’t already.
Firstly, to ensure your hair is washed properly and any product build-up is removed, only use a raspberry-sized amount of shampoo. If it doesn’t lather, don’t add more but instead continue to massage the scalp thoroughly to avoid using too much product which is not needed. Massaging the scalp will promote hair growth and also improve blood circulation to your head and face.
Secondly, if your hair is particularly thin, dull or brittle due to heat damage or colouring, you should apply your conditioner and leave it on for around 6 minutes. After this, take a comb and brush through the hair before washing it out – this will leave you with the most silky and soft hair.
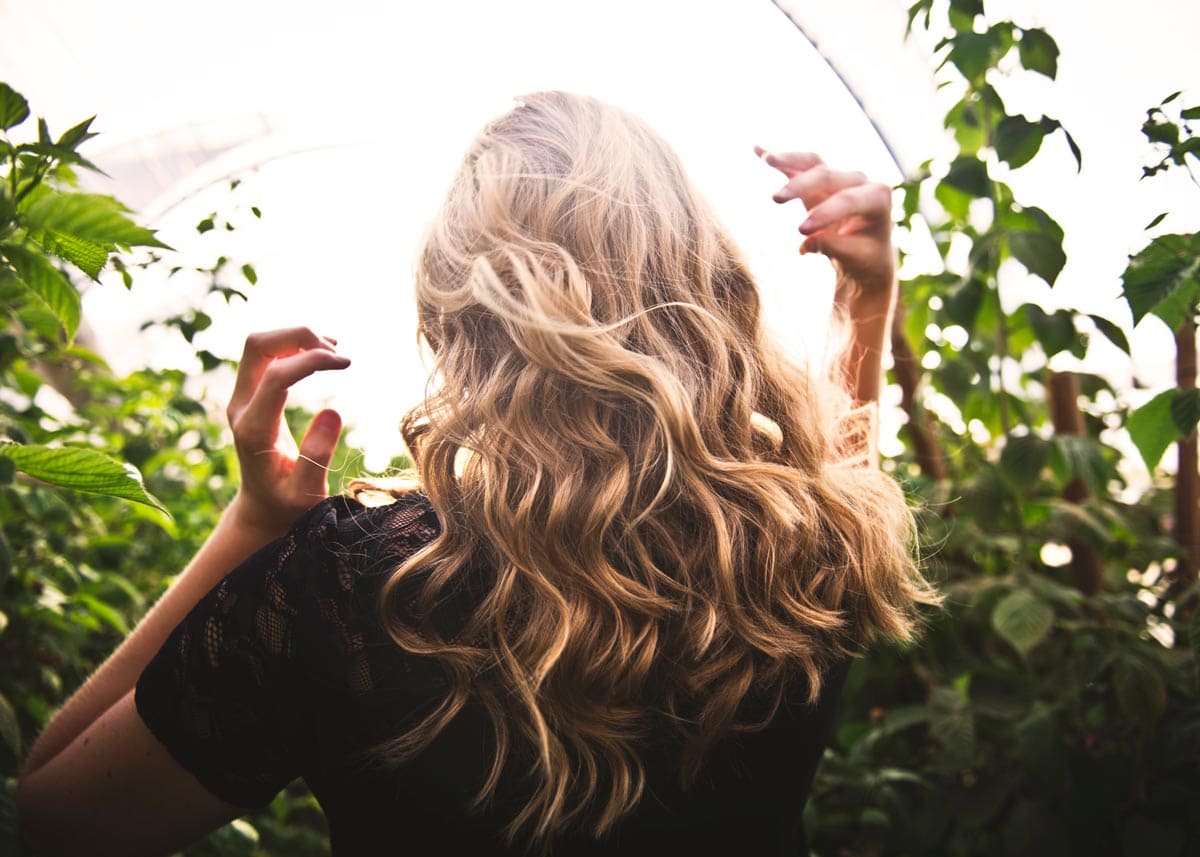
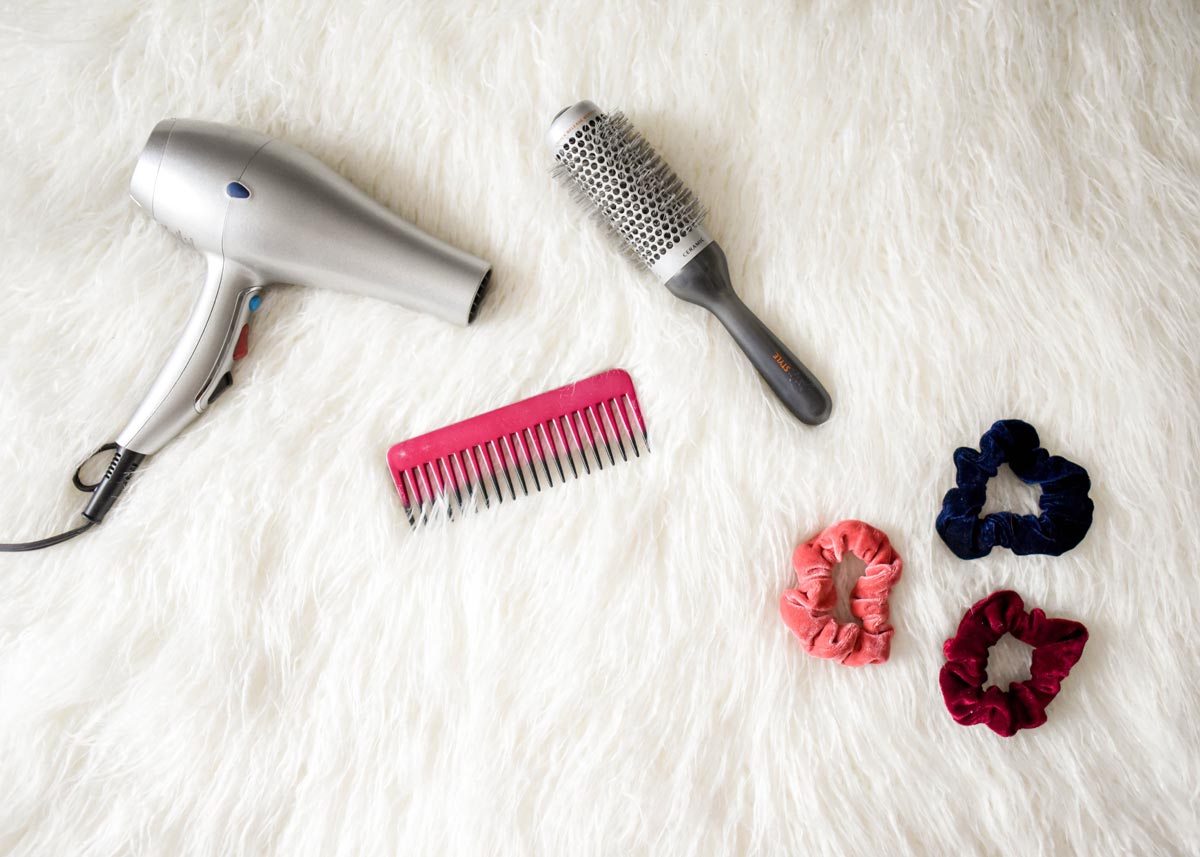
What You’ll Need To Create The Perfect Curly Blow-Dry
- A hairdryer – Choose one with at least two heat settings, a nozzle (to direct the heat efficiently) and a cool shot button – the cool air followed by the heat will help to set the hair.
- A medium sized radial brush – It is worth investing in a good quality radial brush to see the best results. I can’t be the only one to use a very budget one, which resulted in the brush getting caught in my hair and having to wrestle it out (very painful!!)
- A paddle brush for brushing through the curls at the end
- Sectioning clips x4
- Medium sized rollers – You should have enough to be able to cover your entire head.
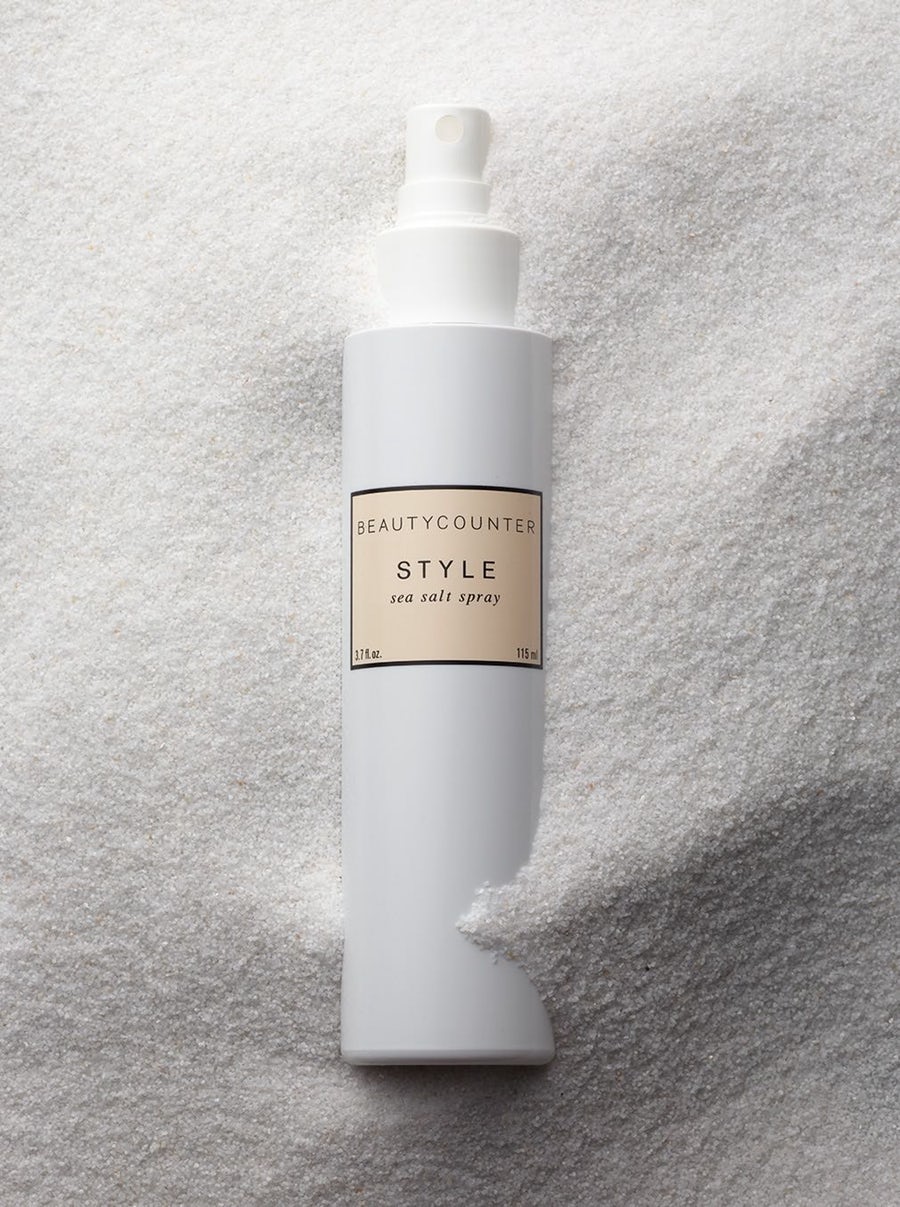
- Hairspray or a style spray – I prefer to use a style spray. The one I use is the BeautyCounter Style Sea Salt Spray which helps to enhance curls and restore shine due to the products formula containing red algae and Himalayan pink salt extracts.
The Process
Once you have prepped your hair and have your tools, you’re ready for the main performance – the blow-drying. Follow my 6 steps to achieve this:
- After shampooing and conditioning, you should then towel dry your hair before applying the hair oil. This is because damp hair it is more manageable, it reduces the time in which you spend drying your hair (your arm will be seriously aching otherwise!!), and also if the hair is too saturated with water it will dilute any product you put in.
- Begin by brushing your hair with a detangling brush. Creating your chosen parting at the same time.
- Section your hair with sectioning clips on each side of your parting in 2-4 sections, depending on the thickness of your hair. Take small enough sections down so that you have control and do not exceed the bristle section of your brush.
- Wrap each section of hair around the brush and roll the hair to and away from the roots. Repeat this step a few times to dry the hair. On the final movement, when you have rolled to the roots, hold this position and apply the heat for 20 seconds to form the curl. Then release the hair from the brush after 30 seconds, twist the curl between your fingers, and put this section into a roller.
- Repeat this process working upwards towards the parting area of your head. After the back is complete you can move onto the sides, starting from the lower sections creating the shape and volume in the same way.
- For the front of your hair or a fringe, dry this with less tension to prevent it from looking heavy around your face. Allow the hair to set for a further 5 minutes before gently removing the curlers.
- After you have removed the curlers from your hair, brush through the curls using a paddle brush for a soft bouncy finish. Finally, apply a generous amount of hairspray (from around 10-15 cm away from your head) all over your hair to set the curls in place.