 Let me give you my secret to getting the perfect manicure every single time:
Prepping Your Nails
Before you apply polish, you need to prepare your nails. If you have old nail polish on you will need to remove this. This can be removed using nail polish remover if it is regular nail polish. However, if it is a gel polish you will need to buff the surface of your nail with a nail file to remove what you can.
Next, you will need to place a cotton wool ball soaked in acetone directly on top of your nail. Followed by wrapping each finger in a small piece of foil, after leaving them to soak for around 15 minutes the gel polish should come straight off – if not leave on for a further 5 minutes.
Once you have polish-free nails you are ready to shape them. The most common shapes are round or square but there are many more to choose from, if you feel like you would like a change, search the following shapes, almond, stiletto, trapeze and ballerina slipper.
There are many YouTube tutorials you can watch if you are struggling to achieve the shape, but my main piece of advice would be to ensure you always file at the tip of your nail in one direction only. This is because if you file them from two directions at the tip it can result in cracked and peeling nails.
A hack before applying your polish is to apply distilled white vinegar to your nails – I know what you’re thinking ‘this is just going to make my hands stink?!’. It won’t! But what it will do is dry out your nail surface and remove any moisture which could affect the base coat meaning that your manicure will last longer.
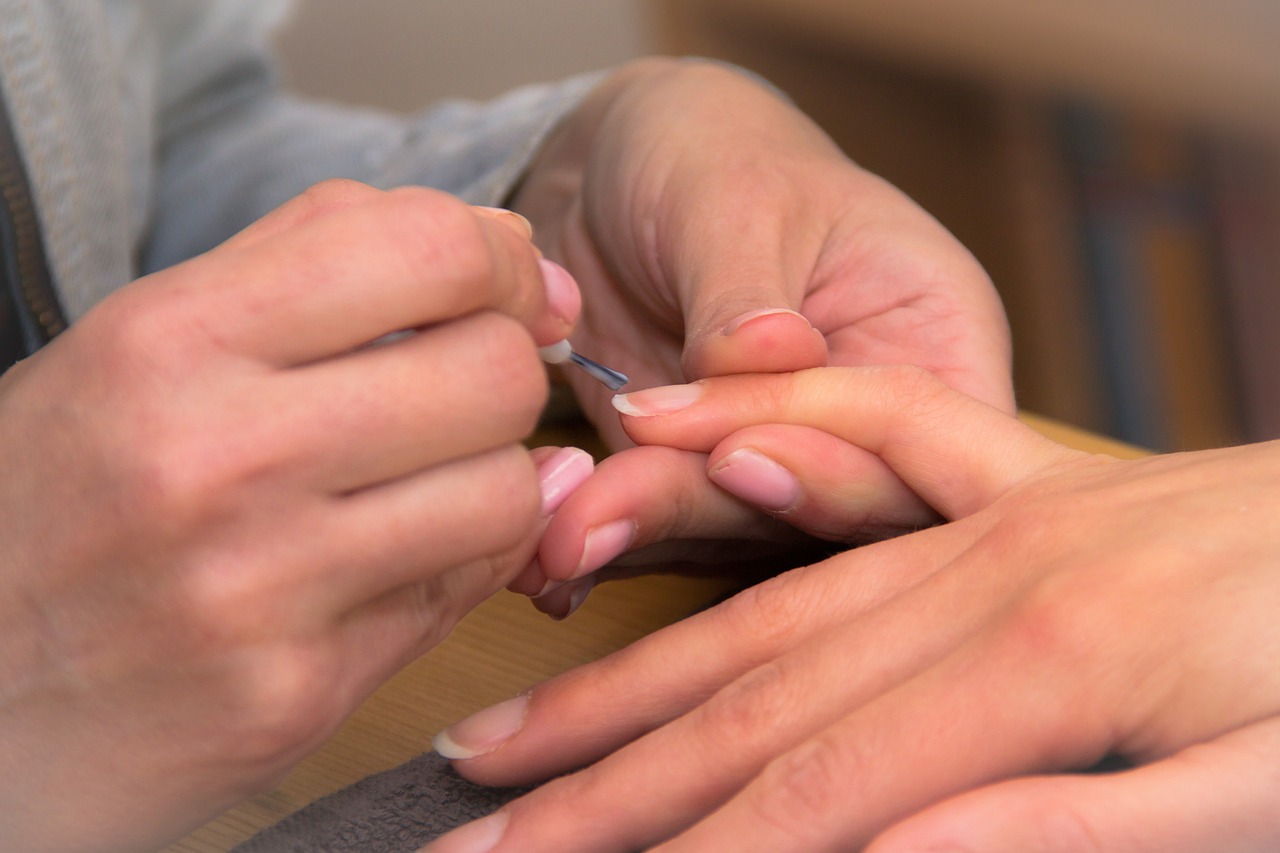
Finally, a genius trick if you struggle to stay in the lines when you apply the polish. All you need is a tub of Vaseline and a cotton bud. Dip a cotton bud into the Vaseline and place it around the skin closest to your nail.
So, after you have painted your nails and they are dry you can wipe away the Vaseline and any paint that has seeped over, preventing it from staining your skin – which can be a nightmare to remove without taking your newly painted nail polish off with it.
When Your Apply Polish
Before you apply your polish you also need to prepare your area and equipment. To do so grab your nail polish and roll it between your hands for 20 seconds, the common exercise to do it to shake it but this causes air bubbles which will mess with the consistency of the polish.
Next, getting your equipment ready, do you ever feel like you need another set of hands when it comes to painting your nails?! Especially, when it comes to your non-writing handing – So, I have a handy hack to help with this, create a makeshift nail polish holder with a medium-sized claw clip.
Stand the claw clip up on a flat surface, open it up and place your polish in there at an angle which makes it easy for you to keep going back to when you paint.
For a long-lasting manicure, apply a base coat. This could be a simple clear coat or if you are applying a color and want to make it pop opt for a white base color, this works more effectively because the tones of your natural nail color can affect the color you choose and means it comes out differently when painted onto your nails.
When it comes to applying your base color, I recommend applying it in 3 simple strokes. First, get a sizeable amount of polish on your brush, apply this down the centre of your nail from your nail base to the tip, do the same method of the left side and then the right. For a more vivid color apply two coats of polish.
Finishing Touches
After, you have painted your nails grab a cuticle oil and place this along the start of your nail bed, rub this in and it will ensure your nails remain healthy until the polish.
When you have spent your valuable time painting your nails you want to ensure your manicure lasts as long as possible. To do that you should allow them to dry for 15 minutes – why do we always want to do/touch everything during this time?!
If you’re impatient like me you can speed up the drying time by placing your hands in a bowl of cold water after allowing the paint to sit for 5 minutes, your nails will instantly be dry.
Nail Techniques
French Manicure
This is the most classic nail style, yet it is difficult to achieve at home. However, I have a handy trick to make it much easier, all you need is your polish and an elastic band. Begin by taking the elastic band and tie a knot in the centre of it, place one loop over your thumb and the other around the fingertip which you’re going to paint, place it just under your tip and use it as a guideline to apply the white polish. Repeat this step on all of your nails.
Ombre Nails
A new trend, which is most popular when used for an ombré French manicure. To create this first paint your nails with a light pink tinted base coat, next apply your French tip as usual.
After the tip is dry, take a slightly darker pink polish and paint the nail from the white tip to just past halfway down your now (leaving some of the base coat exposed). Finally, paint a clear coat over the entire nail. This look can also be created with different colors and without the tip.
Polka Dot Nails
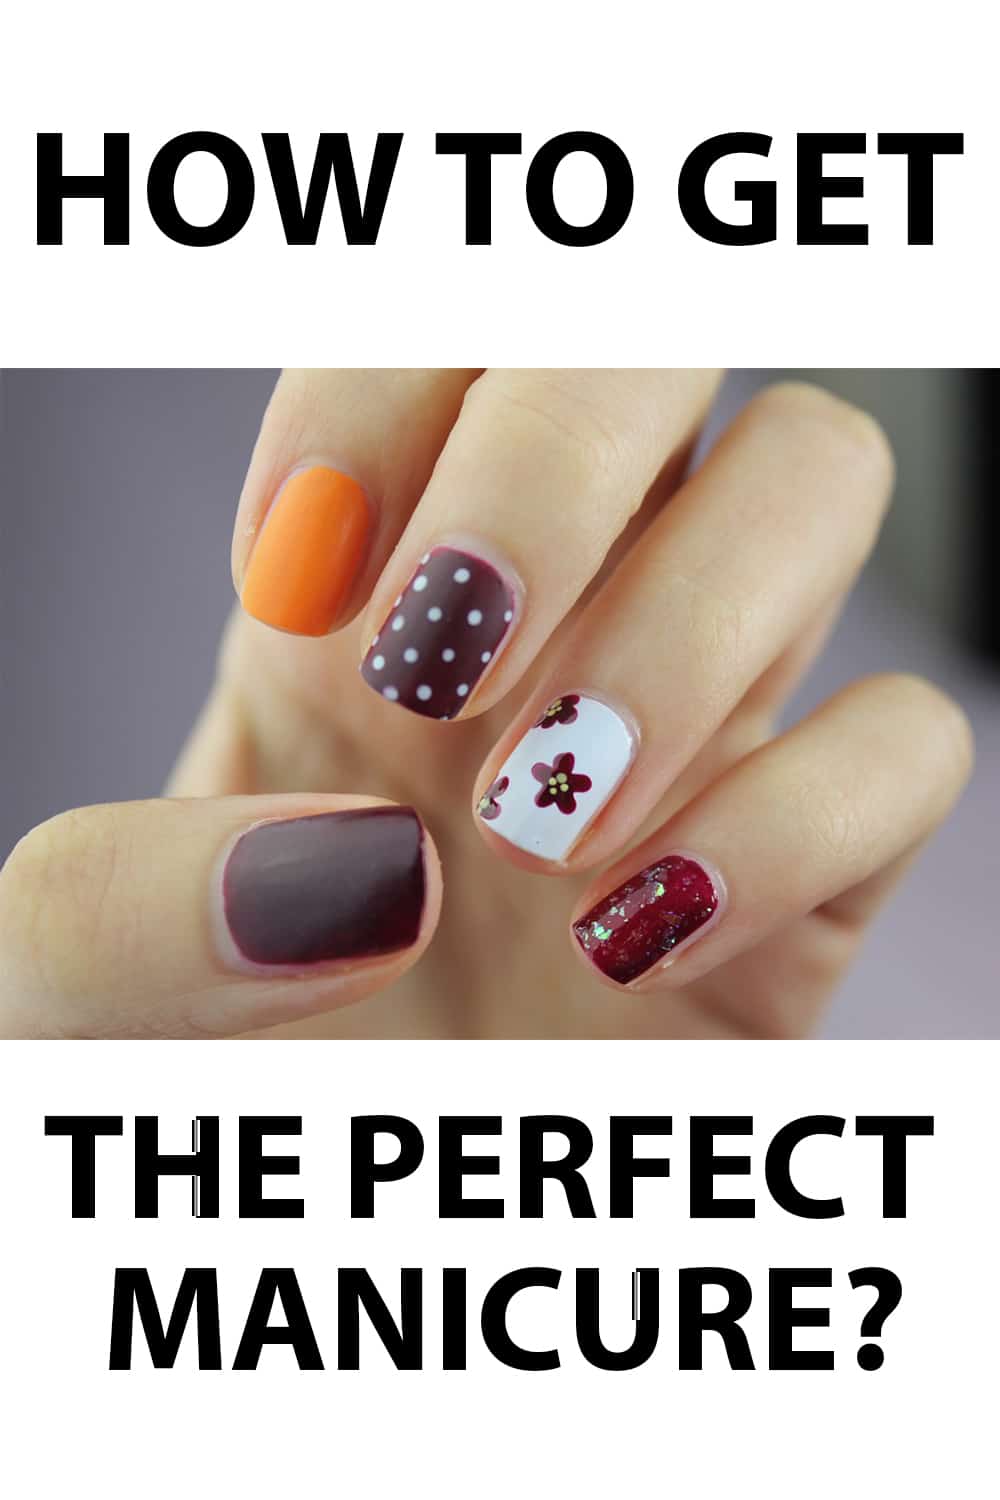
Polka dots are a firm trend in fashion at the moment, so why not have polka dot nails – I think they look particularly great in monochrome. To achieve the look, simply paint a base coat in the color of your choice, next grab the color you have chosen for the dots and take a bobby pin and dip the end into the polish and paint the spots on using the one the tip ends of a bobby pin. It can also make it easier to open the pin up as you’ll only be using one side.

